Red Photography: 21 Ideas With Galaxy Camera Settings
21 red photography ideas for Samsung Galaxy phones, each with a short how-to and a starting setting, plus how to stop reds clipping or turning orange.
When the red channel clips while others look normal, bright reds such as cars and flowers end up looking flat and textureless. Red flowers are given as the prime example by Digital Photography School. The best way to avoid this problem is to compensate before you take the shot.

Settings that keep red under control
| Setting | Starting value | Why |
|---|---|---|
| Exposure | Tap the red subject, then slide exposure down by about a third to two thirds of a stop | Saturated red clips before the rest of the frame looks bright |
| Metering in Pro mode | Spot, with the red subject in the centre | Samsung's user guide says spot metering reads a small area in the centre of the frame |
| White balance | About 3000K under bulbs and candles, about 5000K in midday sun | A fixed value stops warm light pushing red toward orange |
| ISO | As low as the light allows | Heavy noise reduction at high ISO softens fine texture in red petals and fabric |
| Scene optimiser (Scene detection on One UI 9) | Off when colour accuracy matters | Samsung says it adjusts colour settings automatically for the scene it detects |
| File format | RAW and JPEG in Pro mode (Photo format in Camera settings), or Expert RAW | A DNG gives you more room to pull red back in the edit |
Samsung's Galaxy S26 user guide mentions an exposure monitor in Pro mode, which can help prevent overexposure. This could take the form of a coloured overlay or pattern indicating areas of overexposure. If your phone has it, turn down your exposure until it moves out of the red! Samsung's Pro mode guide says that as soon as you manually adjust the shutter speed, ISO will no longer be set to Auto, so you'll need to adjust it manually yourself as lighting conditions change. The white balance guide tells you about the Kelvin scale, and the Scene Optimizer guide tells you where you’ll find the switch under each version of One UI.
21 red photography ideas
Don’t mistake the pictures for camera samples. They’re just illustrations of each idea. Each one also has a brief how-to and a starting point for settings. For whole places full of colour, see our 20 colourful places to photograph.
- 1
A red door on a pale wall
Position yourself so that you're facing the door squarely (that way its edges will run parallel with the sides of the frame), and place it on one of the vertical rule-of-thirds lines, so the door itself doesn't fill the entire frame. For the shot, use Photo mode at 1x zoom, with Composition guide activated, and try lowering the exposure compensation value a bit from default.
- 2
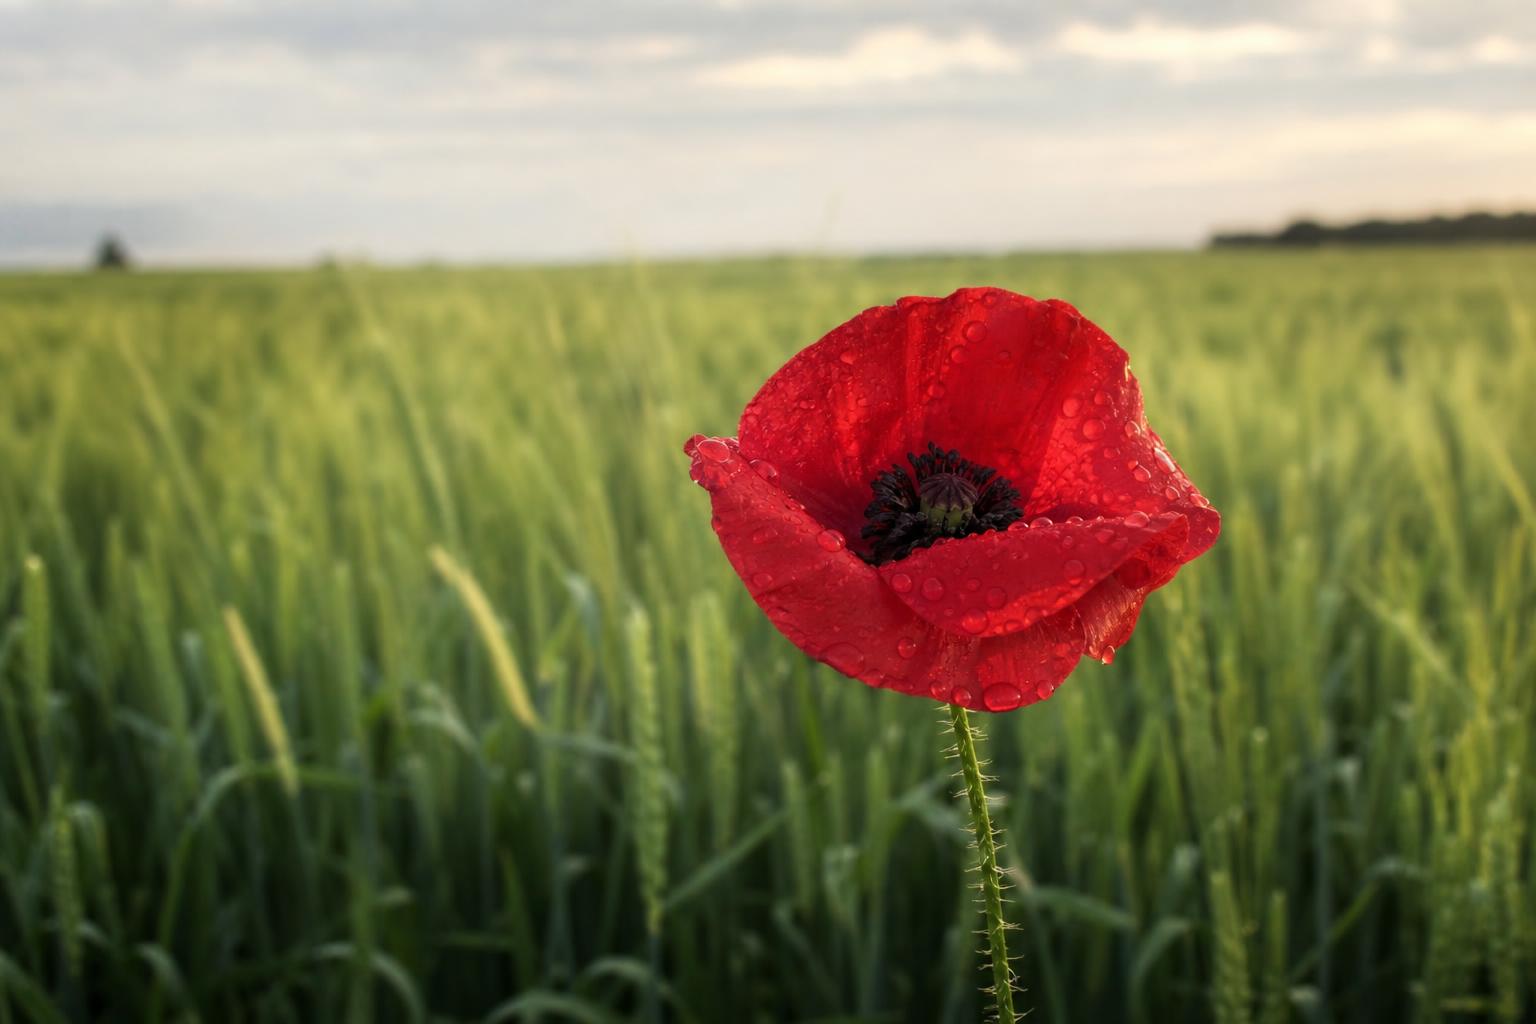
One red flower in green grass
Crouch low so that you can compose against grass or leaves, green being red’s opposite on the colour wheel, and expose for the detail in a petal’s veins by tapping on it and dragging the exposure down.
- 3
A red umbrella in the rain
Try shooting from a window or a bridge so that the paving behind your subject is wet and grey. For fairly fast motion Nikon recommends a shutter speed of 1/500s; try this when shooting rain in Pro mode to begin with.
- 4
A red phone box or postbox
Rotate a clip-on polariser whilst checking the preview until reflections (particularly from glossy painted surfaces and glass) are minimised, since reflections of the sky, for example, can wash out colours such as reds. With fewer reflections, colours appear richer and more saturated.
- 5
A red car
Expose for the highlights (typically around two thirds of a stop less than the exposure indicated by the camera’s meter) and use a polariser filter to tame reflections. Side-lighting flatters a car’s curves and contours. Avoid front lighting (i.e. never place the sun directly behind you) as it flattens a car’s bodywork.

- 6
Autumn leaves against a blue sky
Try holding the phone up to the leaves in a sunny area with the sun behind the leaves so that they glow with light. Tap on a leaf to expose for it and notice how the sky stays a rich blue.
- 7
A red brick wall as a pattern
Enable the level in Composition guide to assist you in keeping everything nice and straight. Get close to the brick and try to fill up the entire screen with it. Keep your phone parallel to the wall so that the courses of bricks run level across the screen.
- 8
One red coat in a grey street
Wait around for someone in a bright red coat to walk through an otherwise grey or white scene. Place them on a third and don't make them too large. The negative space guide explains how much empty frame to leave around them.
- 9
A red bus or tram, panned
Rotate your top half along with the direction the vehicle is going, and take the picture as you are turning. Turn your camera to Pro mode and set the shutter speed to 1/30s. Swipe the shutter button to take continuous shots. (Nikon says it's important to take many pictures when panning.)
- 10
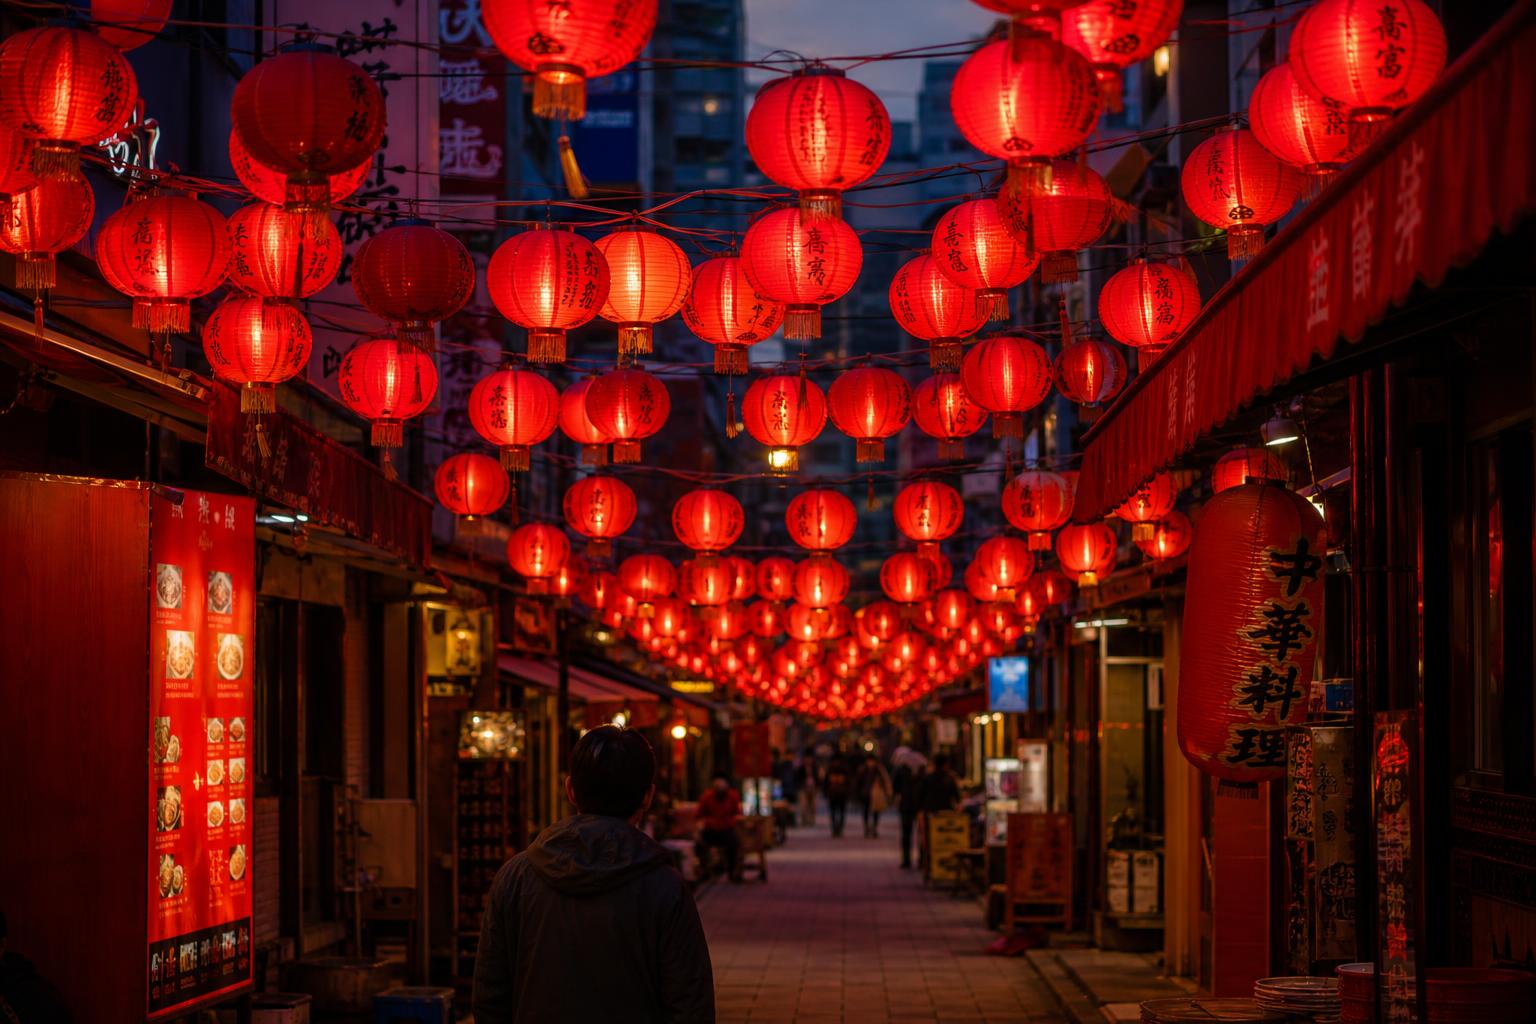
Red lanterns at dusk
Wait until after sunset when there’s still a nice deep blue in the sky. Switch to Photo mode and enable the moon icon. Lower the exposure until the lanterns are coloured instead of white.
- 11
A red neon sign
Neon is very easy to clip, too. Just expose so that the tube is a bright red instead of a white line and don’t worry about the darker surroundings.
- 12
Brake-light trails
Set your phone on a tripod in Pro mode with ISO 50 and the shutter speed between 4 and 10 seconds. Position the camera above a busy street at dusk and use the 2-second timer function to avoid camera shake as you press the shutter button.
- 13
Red stage lighting
Tap the subject to expose for their face, and then decrease the exposure until you see some nice shading. Red stage lights can be particularly challenging; faces can turn into flat red blobs. Decreasing the exposure will bring back some dimension.
- 14
A glass of red wine by candlelight
Place your phone against something on the table to stabilise it. Use Pro mode and aim for a white balance closer to 3000K so the picture doesn’t have too much orange to it from the candlelight. Focus on the rim of the glass when taking your picture.
- 15
Strawberries or tomatoes on a dark board
Get up close (1x) and shoot. On phones with Focus enhancer, this will jump to the ultrawide, as per Samsung’s description. Light them from a side window, with the board in shade. The macro guide covers working distances.
- 16
Water drops on a red chilli
Using a spray bottle, spray some water on the chilli. Shoot with the light source to the side. This will give a nice highlight on each of the water drops. In camera, tap on the brightest drop and lower the exposure until you are happy with the result (i.e. it doesn’t look white).
- 17
Red lipstick or nail polish on white card
Try shooting near a window if possible. A great way to get the most accurate colour representation is to place your item on top of a white card and set your camera’s white balance so that the card appears as white as possible (around 5000K). This will help ensure your reds look red and not orange!
- 18
Peeling red paint
Weathered red doors and hulls of boats lend themselves well to texture studies. Best results can be had by shooting in raking light (i.e. from the side) from fairly close range. Make sure the exposure is such that some grain structure shows in the reds.
- 19
A red apple on black
Place the apple on a dark piece of fabric and shoot it with the only light coming from a nearby window. Use Pro mode and select spot metering to expose for the apple, allowing the rest of the image to under-expose to black.
- 20
Red berries in snow
Red pops against white, but the camera may see all-white as overexposed and tone down the snow to grey. Increase exposure until the snow is white, making sure not to wash out the texture in the berries.
- 21
Keep only the red
If it’s a red coat or a red sign that you’re after, desaturate everything but red. In Lightroom’s colour mix panel, reduce the saturation of every colour except red to zero. Everything except the red subject will turn grey, isolating it from the background.


Editing red without clipping it
Digital Photography School recommends slightly desaturating the reds when a red flower has lost detail. We can do this using any editing tool, but in Lightroom we can head to the colour mix panel and drop the saturation of the reds by a few points. Also increase the red luminance slightly, and if the reds have moved into the oranges, drop the saturation of these too. The Lightroom vs Snapseed comparison describes what each app can do for free.
Unlike a JPEG, a RAW file stores more colour information. Expert RAW also has the option of saving a 16-bit linear DNG file (a type of RAW) in addition to the JPEG on supported Galaxy phones. You can also shoot in DNG using Pro mode. For an analysis of red's relationship with other colours within the frame, see the colour theory guide.
Why does red look orange in my Samsung photos?+
Why do red flowers look blotchy in my phone photos?+
Should I turn off Scene Optimizer for red subjects?+
Free cheatsheet: Red color photography cheatsheet
Printable 1-page PDF with the exact settings, edit recipe and quick reference table. Save it to your phone.
You'll get the PDF now, plus Galaxy photography tips by email from Samsung Photography Academy. Unsubscribe anytime. Privacy policy
Keep reading

21 Negative Space Photo Ideas for Your Samsung Galaxy
21 negative space photo ideas for a Samsung Galaxy, from a lone tree in snow to one lit window at night, each with a short how-to and a setting to use.

15 Leading Lines Photo Ideas to Shoot on a Samsung Galaxy
15 leading lines ideas for a Samsung Galaxy, from rail tracks and piers to stairwells and vineyard rows, each with the lens and setting to start from.

Samsung Galaxy A36 Camera: Review, Settings and A36 vs A56
Samsung Galaxy A36 5G camera review: 50MP specs, what reviewers found, the best settings, and how it compares with the A56, A26, A16, A17 and A37.

Samsung Galaxy A16 Camera: Best Settings and A16 vs A17
Samsung Galaxy A16 camera guide: specs for the 5G and 4G models, the best settings, sharper photos without OIS, and how it compares with the A17 and A15.