Samsung Galaxy Photography Tips: 12 Quick Wins
Twelve quick Samsung Galaxy photography tips, each with the exact setting to change and a link to the full guide, from the grid to Night mode.
While the camera app on your Galaxy phone is designed to work well out of the box, and most people never mess with the settings, there are a few adjustments you can make to get even better results. Here are 12 of the most useful tweaks you can make in under a minute each, listed roughly in order of usefulness. For the bigger picture on lenses and camera modes, start with the Samsung Galaxy photography guide.

12 quick wins for better Galaxy photos
- 1
Turn on the grid and level
In the Camera app’s settings, enable Composition guide (Grid lines in One UI 6 and earlier). Samsung says this adds a grid and a level to the viewfinder, the former letting you compose shots with the rule of thirds in mind, while the latter makes sure you don’t take photos with tilted horizons and have to crop them in post. The rule of thirds guide is your guide as to where everything goes.
- 2
Wipe the lens before you shoot
Smudges, especially fingerprints, on the lens will cause halos around bright lights and can make photos taken in daylight appear hazy. Make it a habit to wipe each lens with a soft cloth before taking photos and any time you take the phone out of your pocket. If you have a lens protector on your phone, make sure it’s not scratched, as this can also haze photos. The blurry photos guide covers the other causes of soft pictures.
- 3
Tap your subject, then set the brightness
You can tap the screen to set the focus and exposure. You can also touch and hold the screen to lock the focus and exposure (according to Samsung’s user guide the lock will persist after you take a photo). There’s also an Exposure setting in Quick controls, and reducing the exposure slightly helps when shooting sunsets and other bright scenes. After tapping the screen to focus you’ll see a brightness adjustment slider next to the focus point, and you can drag this to alter the exposure. The AE/AF lock guide gives information on the use of the two locks.
- 4
Use the zoom buttons
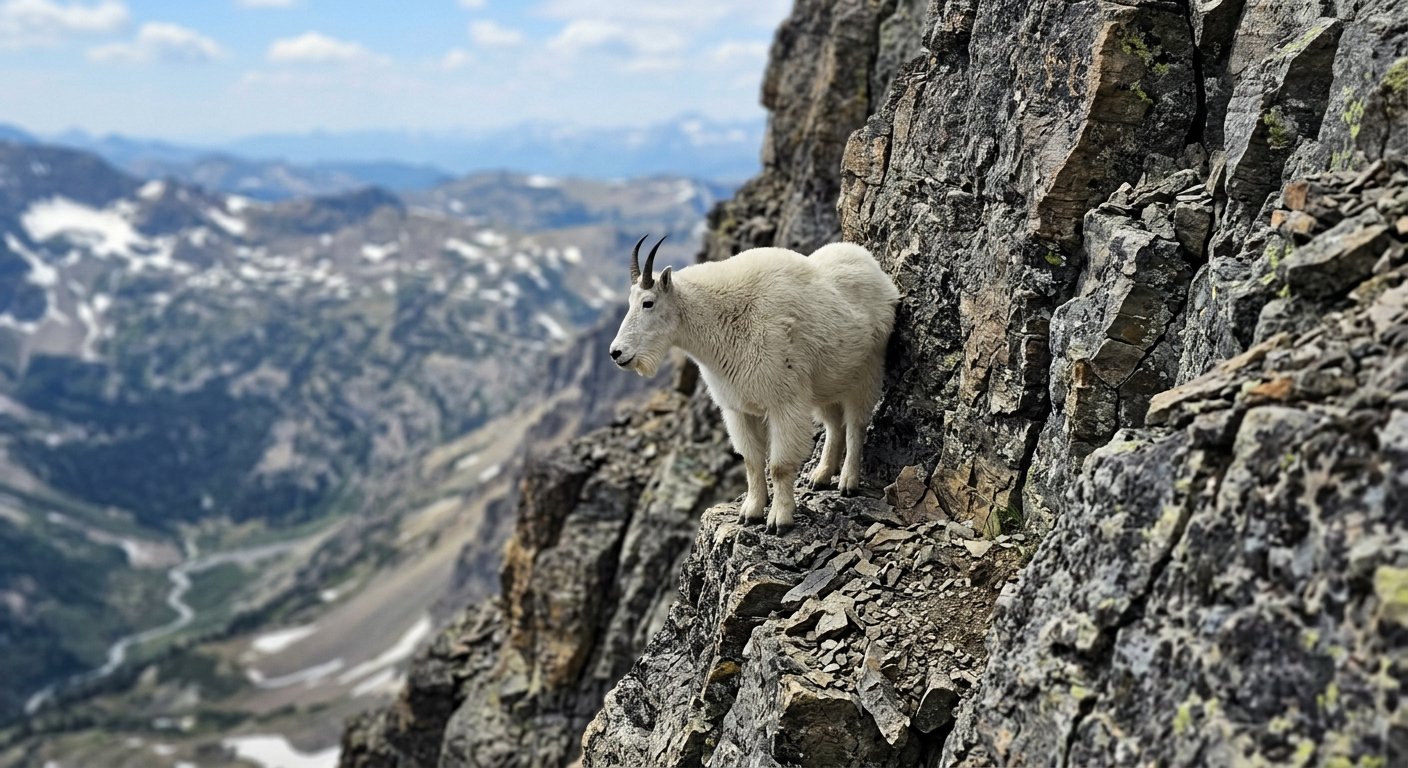
On the S24 Ultra to S26 Ultra there are 3x and 5x telephoto cameras and lately even base S models have a 3x. In dim lighting conditions, your phone might use a cropped image from the main camera instead of the telephoto cameras. You can control the behaviour with Auto lens switching in Camera Assistant. Tapping on the zoom buttons gives you a better image compared to pinching to some value in between, as the values in between are just crops from a wider camera. For example, 2x on A series phones is a crop from the main camera. The telephoto lens guide provides insight into when to use one lens or the other.
- 5
Leave the resolution on 12MP
By default, all current Galaxies take pictures in 12MP, combining frames and pixels to produce the cleanest-looking images. In good lighting, consider shooting in 50MP (or 200MP, if you’ve got an Ultra model), but only if you’re planning to do any serious cropping or print your photos large. Just keep in mind that these higher resolutions won’t receive the same level of processing as 12MP shots, so they can look noisier (particularly in lower light). The 12MP vs 50MP guide lists what each model offers.
- 6
Put the light beside your subject
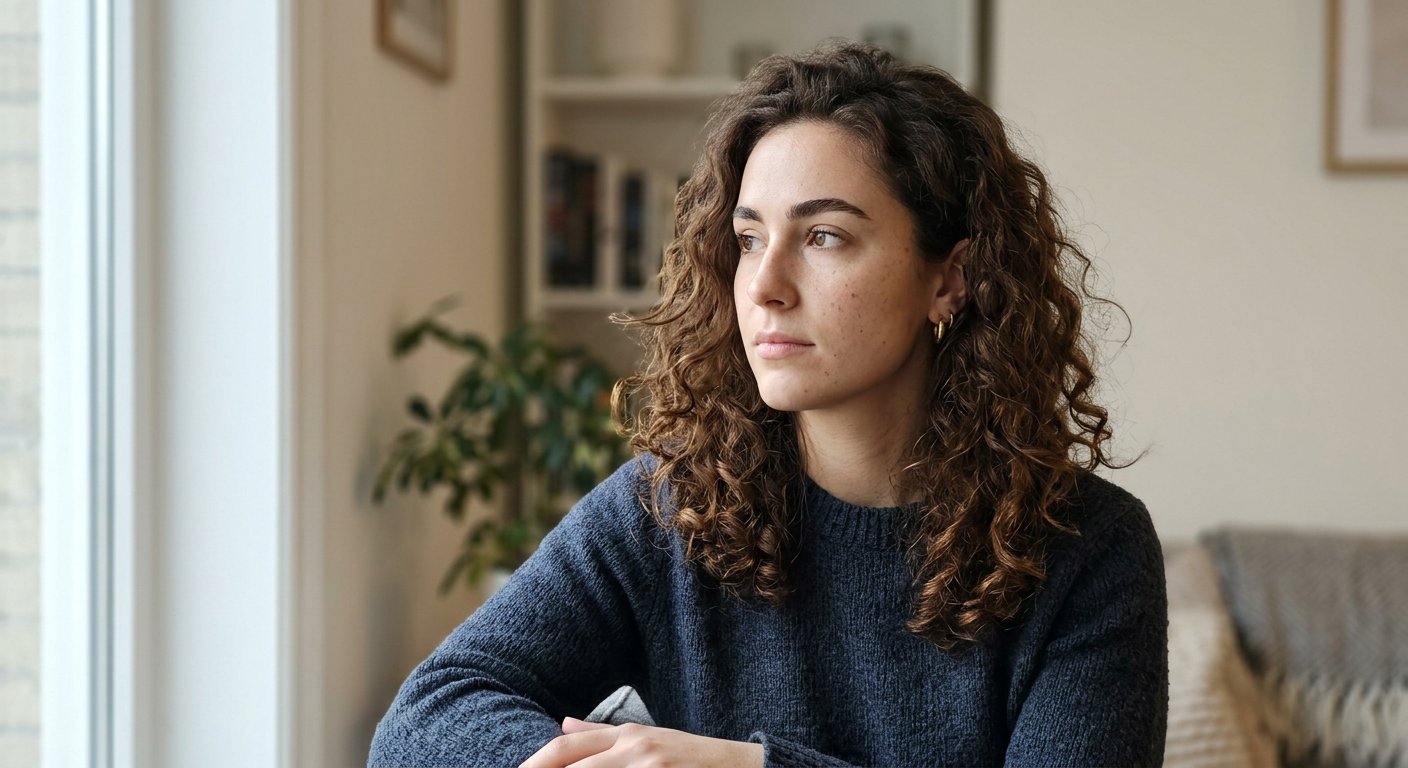
Avoid lighting directly above your subject’s head as shadows are cast on their face, especially under the eyes. When shooting outside try to shoot shortly after sunrise or before sunset as the light is usually warmer and softer at these times of day. Alternatively, shoot in open shade, for example, just outside a building at midday. When shooting inside try and position your subject a little back from, but facing, the window. Lighting from the side of your subject will give texture and shape to your portraits. The golden hour portraits guide also offers more configurations.
- 7
Set white balance when colour looks wrong
Try setting a manual white balance in Samsung’s Pro mode: tap WB and choose a higher Kelvin number (aim for around 6500K to retain the warmth of a sunset). Auto white balance can ruin the mood by removing the warmth of lightbulbs and sunsets. Alternatively, use one of the presets such as Daylight or Tungsten, which Samsung’s Pro mode guide lists. The white balance guide has a full table.
- 8
Match the shutter speed to the movement
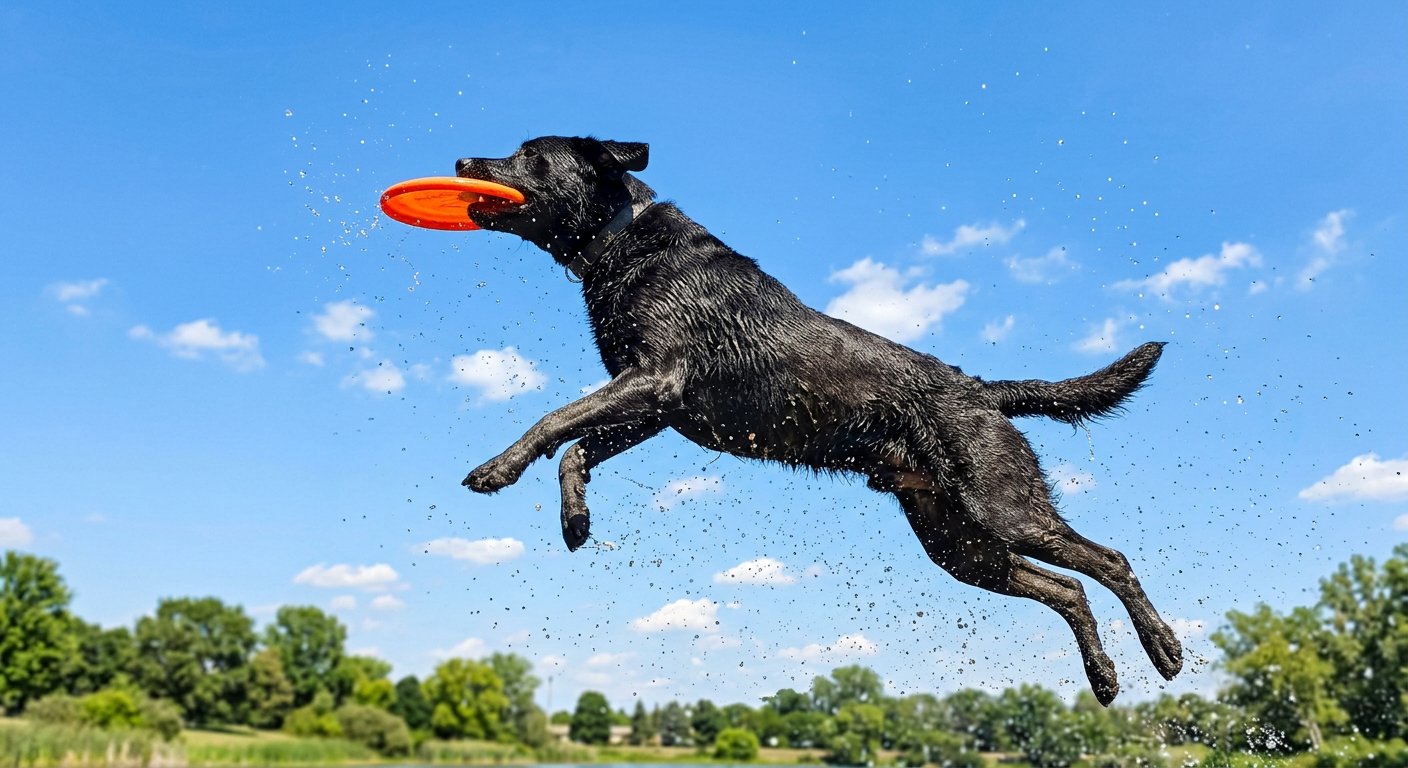
Unfortunately in dim conditions Photo mode may choose too slow a shutter speed to avoid blurring if your subject (person, dog, etc) moves. For people walking we’d start with 1/250s and for running people 1/500s or quicker in Pro mode (which is also Nikon’s suggested starting point for quite fast-moving subjects). To take a burst of images swipe the shutter button off the side of the screen and keep your finger pressed (note if you just keep your finger pressed on the shutter button you’ll record a video clip). In One UI 9 this can be configured in Camera Assistant. The shutter speed guide also covers long exposures.
- 9
Brace for Night mode and wait
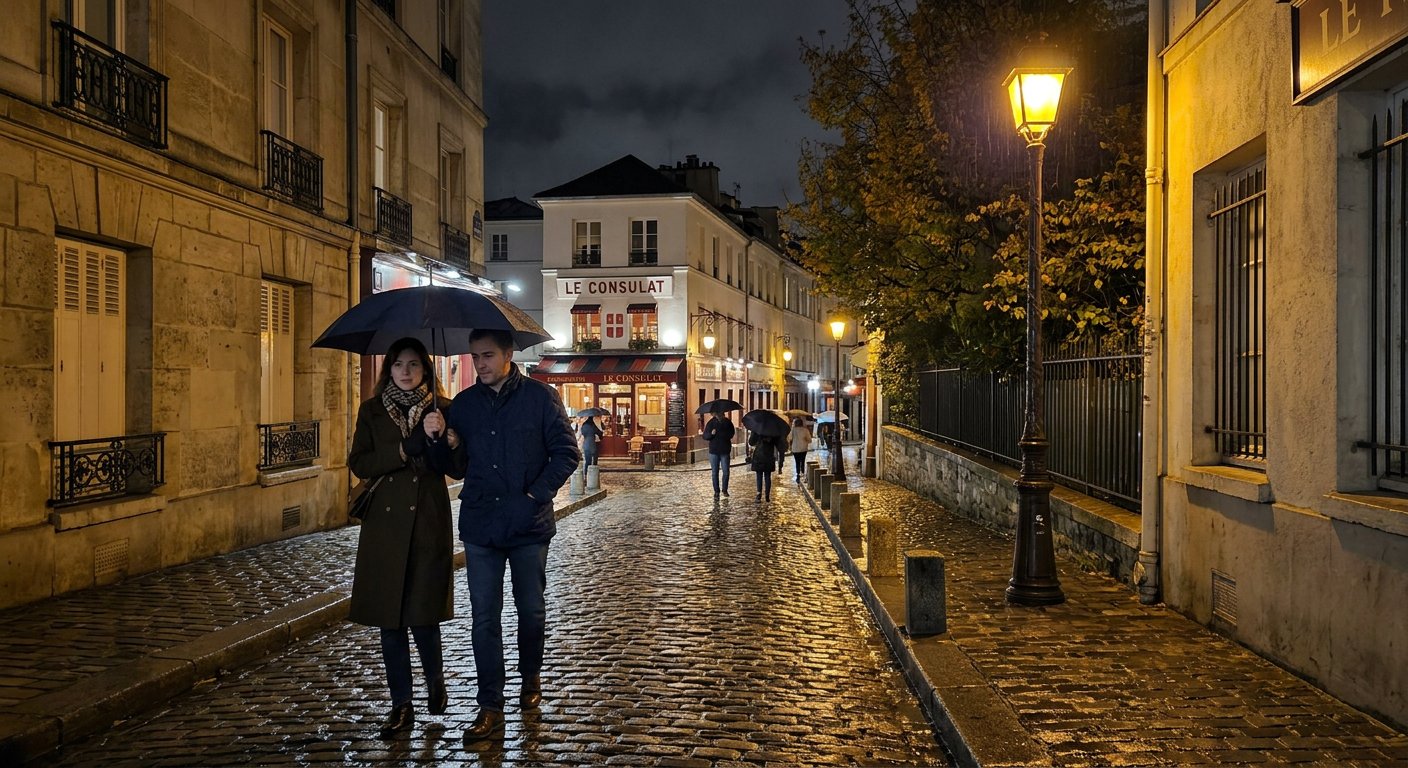
Night mode works best when your phone is perfectly still, so find a wall or table to rest your phone on and wait for the animation to let you know it’s finished taking the photo. Night mode stitches 30 photos together, according to Samsung, so any movement will show up as blur in the final image. On the S25 and older models, you’ll find Night mode in the mode bar (or under More). On the S26 with One UI 8.5, however, Night mode is a part of Photo mode, represented by a moon icon, and it offers two levels of Night mode: Auto and a more intense option, Max. The Night mode guide covers each version.
- 10
Turn Scene optimiser off for true colour
Colour accuracy isn’t always great when Samsung’s Scene optimiser feature is on. It analyses what’s in the shot and alters the colours accordingly (Samsung calls it analysing the ‘subject or scene’), which sounds great until your sky or plate of food looks more colourful than it did in real life. It suits a quick share, but we’d suggest switching it off if you’re after accurate colours or you plan on editing the images. On One UI 9 (tested on a Galaxy S25 Ultra), it’s called Scene detection and is tucked away in Camera settings > Photo enhancer. The Scene Optimizer guide shows what it changes.
- 11
Save RAW for the photos you'll edit
Since RAW files retain more information than JPEG images, they offer greater flexibility in post-processing, such as correcting white balance issues or rescuing blown-out skies. In Pro mode, you can save an image as both JPEG and DNG (RAW) files. Samsung’s Expert RAW app can capture images in RAW format (16-bit linear DNG files). It’s free. On its website, Samsung says Expert RAW is compatible with the Galaxy S20 to Galaxy S26 series, Galaxy Z Fold and Flip series, and Galaxy A series (models with advanced camera systems), though no particular Galaxy A model is specified. SamMobile discovered that Expert RAW couldn’t be installed on the Galaxy S25 FE. The Expert RAW guide walks through setup.
- 12
Edit lightly and keep the original
Crop and make basic brightness and contrast adjustments in the Gallery app’s built-in editor. On some models and software versions, Samsung says you can Revert to go back to the original photo. Don’t overdo saturation and sharpening, because more is not always better, and these effects are amplified when you’re looking at them on a bright smartphone screen. The photo editor guide compares the Gallery editor with Snapseed and Lightroom.


Which tips to use when
| Situation | Tips | Starting point |
|---|---|---|
| Friends around a café table | 3, 4 and 6 | 3x lens if you have one, window light from the side, tap the nearest face |
| Children or pets running | 8 | Pro mode at 1/500s, or swipe the shutter for a burst |
| Landscape at sunset | 1, 3 and 7 | Horizon on a third, brightness pulled down, white balance around 6500K |
| City street after dark | 9 | Night mode with the phone braced on a wall |
| A dish you'll post straight away | 10 | Scene optimiser on and window light from the side |
| A view you'll print or edit | 5 and 11 | 50MP or RAW in good light |
According to SamMobile, Camera Assistant now also allows limiting the maximum ISO and minimum shutter speed on One UI 8.5+. This may come in handy, for example, when shooting indoors in Photo mode as Samsung cameras tend to blur moving objects in such situations.
In Photo mode you can tap anywhere on the screen to set focus and exposure. Our free 30-day photography challenge starts there and allows one camera setting change per day.
Why do my Samsung photos look over-processed?+
Do I need a tripod for better phone photos?+
What resolution should I use on my Samsung camera?+
Keep reading

Samsung Pro Mode Presets: Settings to Save by Situation
How to save and load Samsung Pro mode presets in Camera Assistant, with starting values for night streets, tripods, action, portraits and the moon.

Samsung Camera Not Focusing? Close-Up, Zoom and AF Fixes
Samsung camera won't focus? You're often closer than the lens allows (about 18cm on the S26 Ultra main). Fixes for close-ups, zoom, glass, dim light, cases.

How to Turn Off the Shutter Sound on a Samsung Galaxy
Open Camera settings and switch off Shutter sound. No switch on your Galaxy (UK and EU phones)? Mute the System volume. Korean and Japanese ones can't.

How to Turn On Grid Lines in the Samsung Camera
Turn on grid lines in the Samsung camera: the Composition guide path on One UI 7 to 9, Grid lines on older phones, the level, and fixes if it's missing.